A Guide to Candle Wick Supplies for DIY Projects
Candle making is a popular DIY project that can be both fun and rewarding. Whether you’re a seasoned crafter or just starting out, understanding the importance of candle wicks is essential. The right wick not only helps your candle burn evenly, but it also impacts how it looks and smells. In this guide, we’ll explore the role of wicks in candle making and discuss the different types of wicks available.
Understanding the Importance of Candle Wicks
When it comes to candle making, the wick plays a crucial role in the overall performance of your candle. Its primary function is to draw up the melted wax and vaporize it, creating a controlled and consistent flame. The size, material, and design of the wick can significantly impact factors such as burn time, fragrance throw, and even the aesthetic appeal of your candle.
Before you start making candles, it is essential to gather the necessary candle wick supplies. In addition to choosing the right wick type, you’ll need to consider other factors such as wick sizing, measurements, and accessories like tabs and holders.
The Role of Wicks in Candle Making
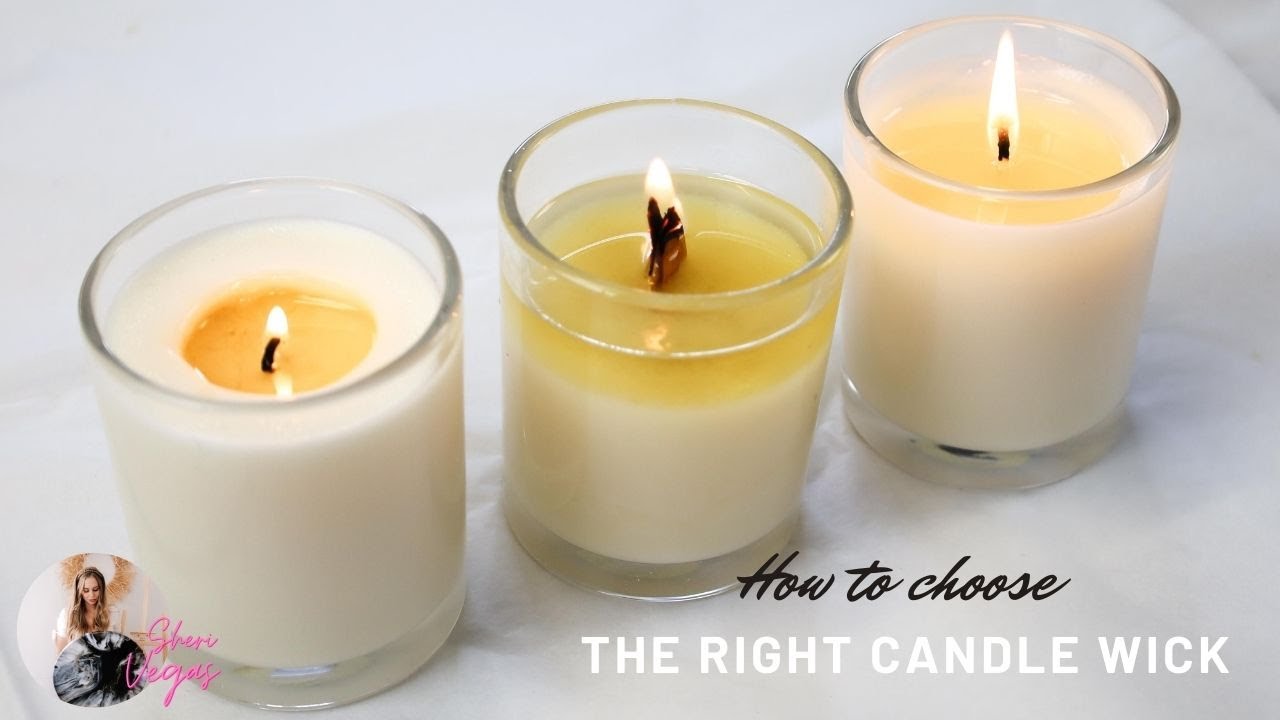
Wicks act as a vehicle to transport the liquid wax from the container to the flame. The capillary action, combined with heat, causes the wax to climb up the wick and get consumed by the flame. Without a proper wick, your candle may not burn evenly, leading to issues such as tunnelling or uneven melting. It is crucial to choose the right wick to ensure a clean and efficient burn.
Moreover, the length of the wick also plays a significant role in the candle’s performance. A wick that is too short may drown in the pool of wax, causing the flame to extinguish prematurely. On the other hand, a wick that is too long can lead to excessive flickering, smoking, and even cause the candle to burn too quickly. Finding the perfect wick length is essential for achieving an optimal burn. Learn more about prematurely at https://www.sciencedirect.com/topics/chemical-engineering/spontaneous-combustion
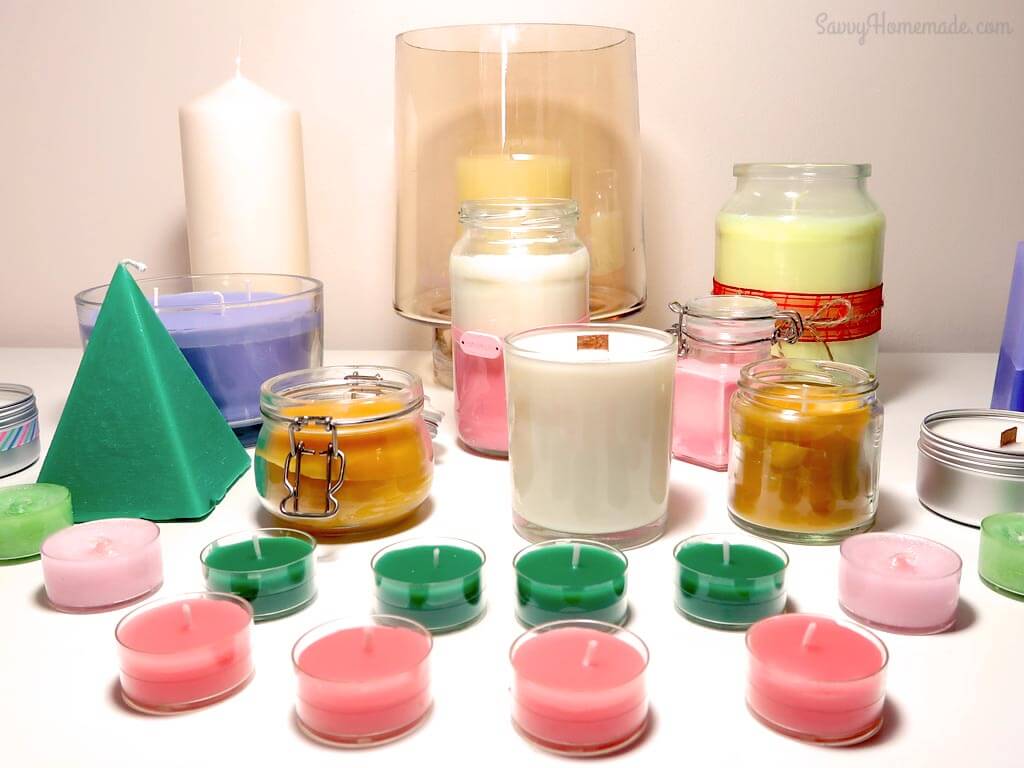
Different Types of Candle Wicks
There are various types of wicks available, each suited for different candle types and sizes. The most common types include cotton core wicks, hemp wicks, and wood wicks. Cotton core wicks are versatile and work well with most waxes, while hemp wicks are a popular choice for those seeking a more natural option. Wood wicks provide a unique crackling sound and a cozy ambiance.
When selecting a wick, it is essential to consider factors such as the diameter of the container, the type of wax being used, and the desired burn time. Experimenting with different wick types and sizes can help you achieve the perfect balance between aesthetics and functionality in your candles. Remember, the wick is not just a simple component of a candle; it is a crucial element that can make or break the entire candle-making process.
Essential Candle Wick Supplies for DIY Projects
Creating your own candles can be a rewarding and creative endeavor. Not only do you have the opportunity to customize the scent and appearance of your candles, but you also have the satisfaction of knowing that you made them yourself. However, to ensure that your candles burn properly and safely, it is crucial to pay attention to the details when it comes to wick supplies.
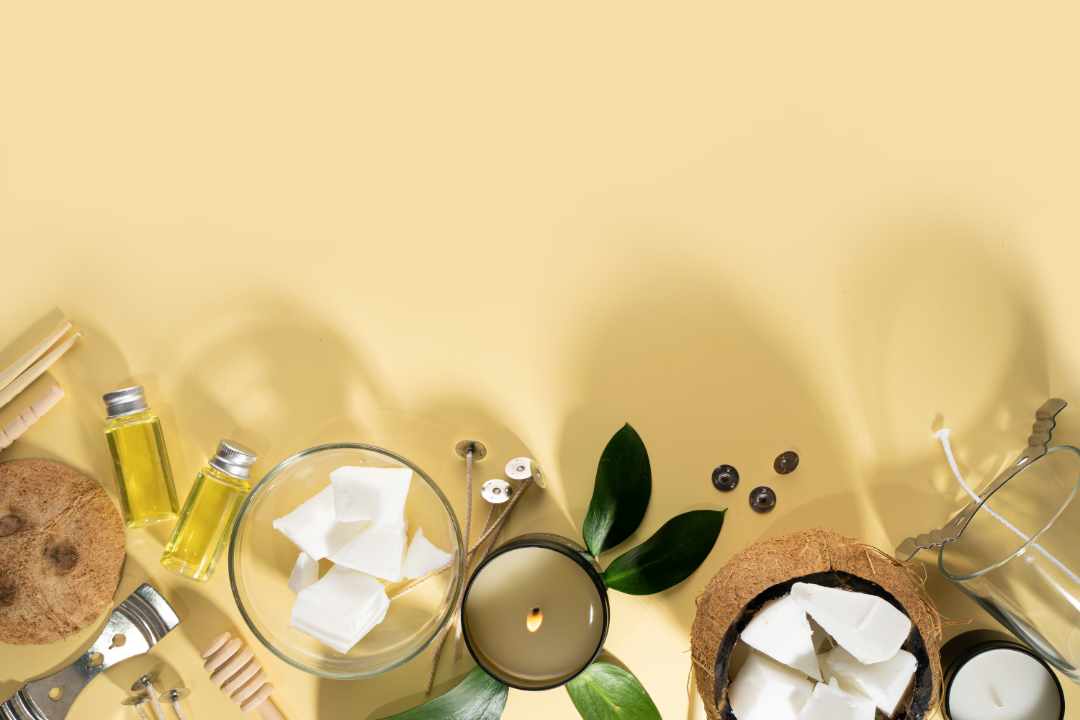
Choosing the Right Wick Material
Start by selecting a wick material that is suitable for the type of wax you’ll be using. Different waxes have different melting points and properties, which can affect how the wick performs. For example, soy wax typically requires a more robust wick compared to paraffin wax. Research the recommended wick options for your chosen wax to ensure optimal results.
When choosing a wick material, consider factors such as burn rate, flame height, and self-trimming capabilities. Cotton wicks are a popular choice for many candle makers due to their clean burn and minimal soot production. However, if you’re looking for a more eco-friendly option, you might consider wicks made from sustainably sourced materials like hemp or wood. Click here to learn more about eco-friendly.
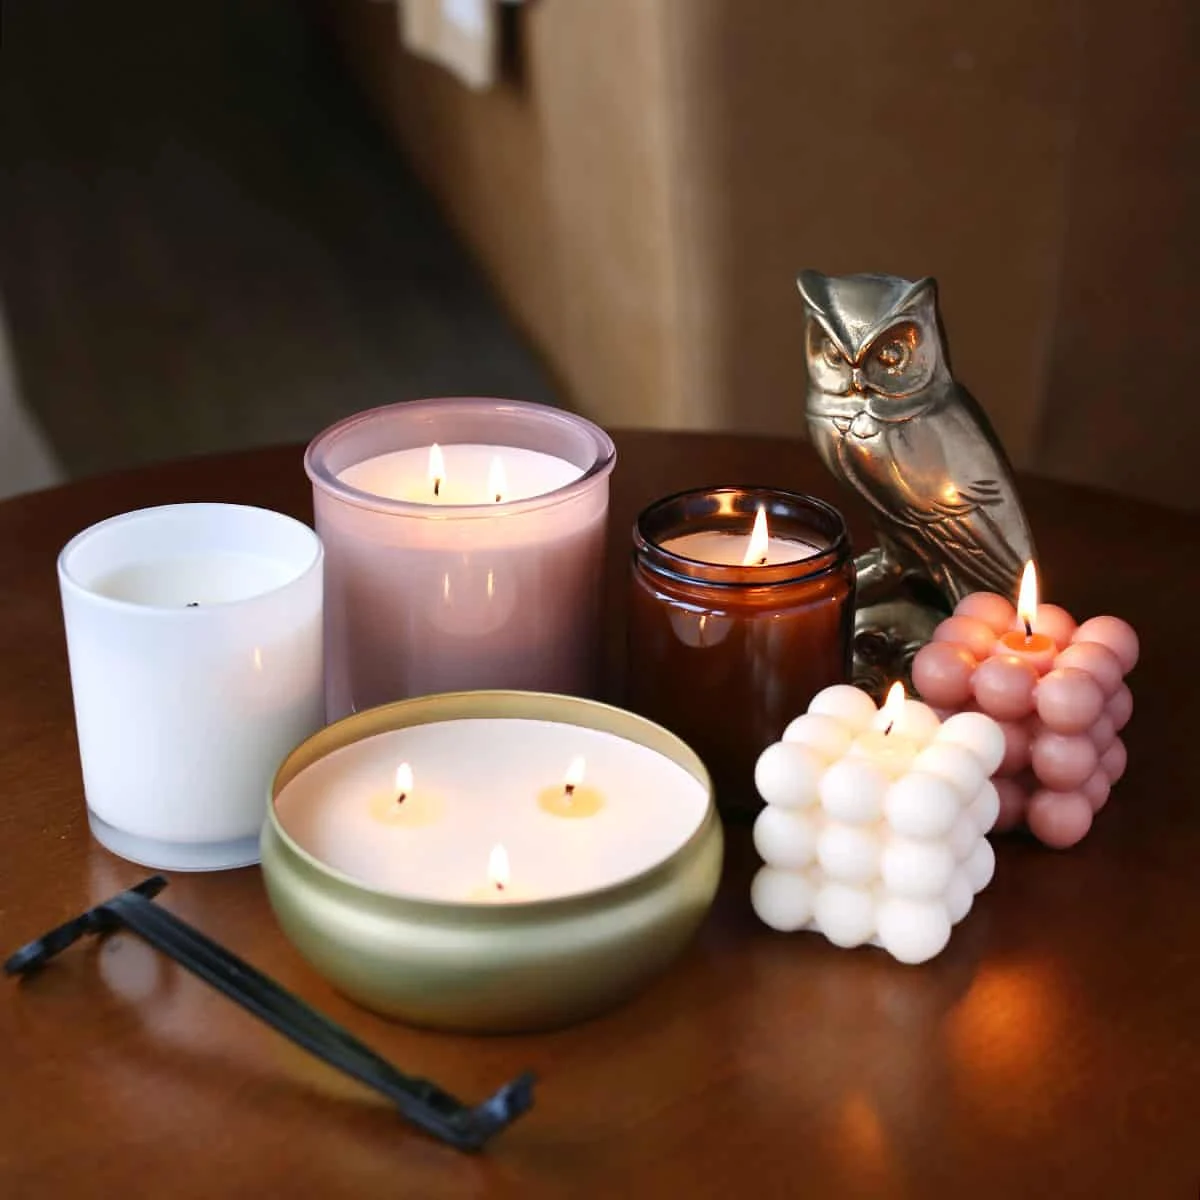
Wick Sizing and Measurements
Wick sizing is a critical aspect of candle making. A wick that is too small may result in poor fragrance throw and tunneling, while a wick that is too large can cause excessive smoking and soot formation. Consult a wick size chart or conduct burn tests to determine the appropriate size for your specific candle diameter and wax type.
Keep in mind that the diameter of your container will also impact the wick size you choose. A wider container may require a larger wick to ensure an even burn, while a narrower container may need a smaller wick to prevent overheating. It’s important to strike the right balance to achieve a beautiful, clean-burning candle.
Wick Tabs and Holders
Wick tabs and holders are essential for securing your wicks in place and maintaining stability during the pouring and burning process. Wick tabs are small metal disks that attach to the end of the wick and help keep it centered in the container. Wick holders, on the other hand, are devices that hold the wick in place while the wax is setting. Both ensure that your candle burns evenly and prevents the wick from drifting.
When it comes to wick tabs, you’ll find a variety of options to choose from. Some are pre-tabbed, meaning they come with a metal disk already attached, while others require manual tabbing. Consider the size and shape of your container when selecting wick tabs to ensure a secure fit.
As for wick holders, they come in different forms, such as metal clips or plastic anchors. The choice depends on personal preference and the type of container you’re working with. Whichever option you choose, make sure it provides adequate support to keep the wick straight and centered as the wax solidifies.
Step-by-Step Guide to Preparing Your Candle Wicks
Now that you have your wick supplies ready, it’s time to prepare them for candle making. Follow these simple steps to ensure your wicks are trimmed, primed, and secured correctly.
Before diving into the world of candle making, it’s essential to understand the importance of wick preparation. A well-prepared wick can make a significant difference in the quality and performance of your candles. By taking the time to cut, prime, and secure your wicks properly, you can ensure a clean, even burn and maximize the scent throw of your candles.
Cutting Your Wicks to Size
Using a sharp pair of scissors or wick trimmers, cut your wicks to the desired length. Remember to account for the height of your container and any additional length needed for securing the wick to the tab or holder.
Choosing the right wick length is crucial for achieving optimal burning performance. A wick that is too short may drown in the wax, leading to tunneling, while a wick that is too long can cause smoking and uneven burning. Take your time to measure and cut the wicks precisely to ensure a perfect burn every time.
Priming Your Wicks for Better Burning
Priming your wicks involves coating them with melted wax to enhance their performance. This helps eliminate air bubbles, assists with the initial burn, and improves overall combustion. Dip the wick into melted wax, ensure it is fully saturated, and hang it to dry. This simple step can make a big difference in the quality of your candle.
Additionally, priming your wicks can help reduce mushrooming, where carbon builds up at the tip of the wick and creates soot. By pre-saturating the wick with wax, you can promote a cleaner and more efficient burn, prolonging the life of your candle.
Securing Your Wicks for Stability
Before pouring the melted wax into the container, secure the primed wick to the tab or holder. Ensure that the wick is centered and straight to ensure an even burn. Use adhesive or a wick sticker to hold the tab in place at the bottom of the container.
Properly securing your wick is essential for a successful candle-making experience. A centered wick not only looks more aesthetically pleasing but also ensures that the wax burns evenly, maximizing the scent throw and longevity of your candle. Take the time to secure the wick correctly, and you’ll be rewarded with a beautifully burning candle.
Troubleshooting Common Wick Problems
Even with the right wick supplies and proper preparation, you may encounter some common wick-related issues when making candles. Here are a few troubleshooting tips to help you address these problems.
Addressing Wick Mushrooming
Wick mushrooming occurs when the wick burns, and excessive carbon buildup forms a mushroom-like shape at the top. This can lead to soot and poor overall performance. To minimize mushrooming, trim the wick before each burn and ensure the wick is the correct size for your candle.
But did you know that the type of wax you use can also affect wick mushrooming? Some waxes, like soy wax, have a higher likelihood of causing mushrooming compared to others. So, if you’re experiencing persistent mushrooming despite trimming the wick, you might want to consider trying a different type of wax to see if that makes a difference.
Solving Wick Drowning Issues
Wick drowning happens when the wick becomes too saturated with melted wax, leading to a weak or extinguished flame. To avoid this, choose a wick size that matches the diameter of your candle and ensures proper wax pool formation during burning. If you notice any signs of wick drowning, try increasing the wick size or using a more suitable wick type.
Another factor that can contribute to wick drowning is the fragrance load in your candle. Some fragrances contain ingredients that can affect the wick’s ability to draw up the melted wax efficiently. If you’re using a heavily scented candle, it’s worth experimenting with different fragrance oils to find one that doesn’t cause wick drowning.
Preventing Wick Tunneling
Wick tunneling occurs when the flame only burns the wax in the center, leaving a tunnel of untouched wax around the sides. This can be caused by an undersized wick or not allowing the candle to burn long enough during the initial lighting. To prevent tunneling, choose a wick size appropriate for your candle diameter and ensure a full melt pool is achieved during the first burn.
However, keep in mind that certain additives in your wax can also affect tunneling. For example, some waxes contain additives that help with fragrance retention but can also cause tunneling if not properly balanced. So, if you’re consistently dealing with tunneling issues, it might be worth exploring different wax options that have a better track record in terms of burn performance.
With a better understanding of candle wick supplies and their importance in DIY projects, you can now confidently embark on your candle making journey. Remember to experiment, take notes, and have fun as you discover your own perfect combination of wick materials and techniques. Happy candle making!
Other resources: How to Choose the Right Candle Wicks for Your Candles